
Enjoy nature’s beauty indoors with these stunning DIY flower candles! They offer the soft glow of candles and the calming fragrance of calendula and blue butterfly pea flowers, effortlessly adding some rustic, boho charm to your space. Easy and enjoyable to make!
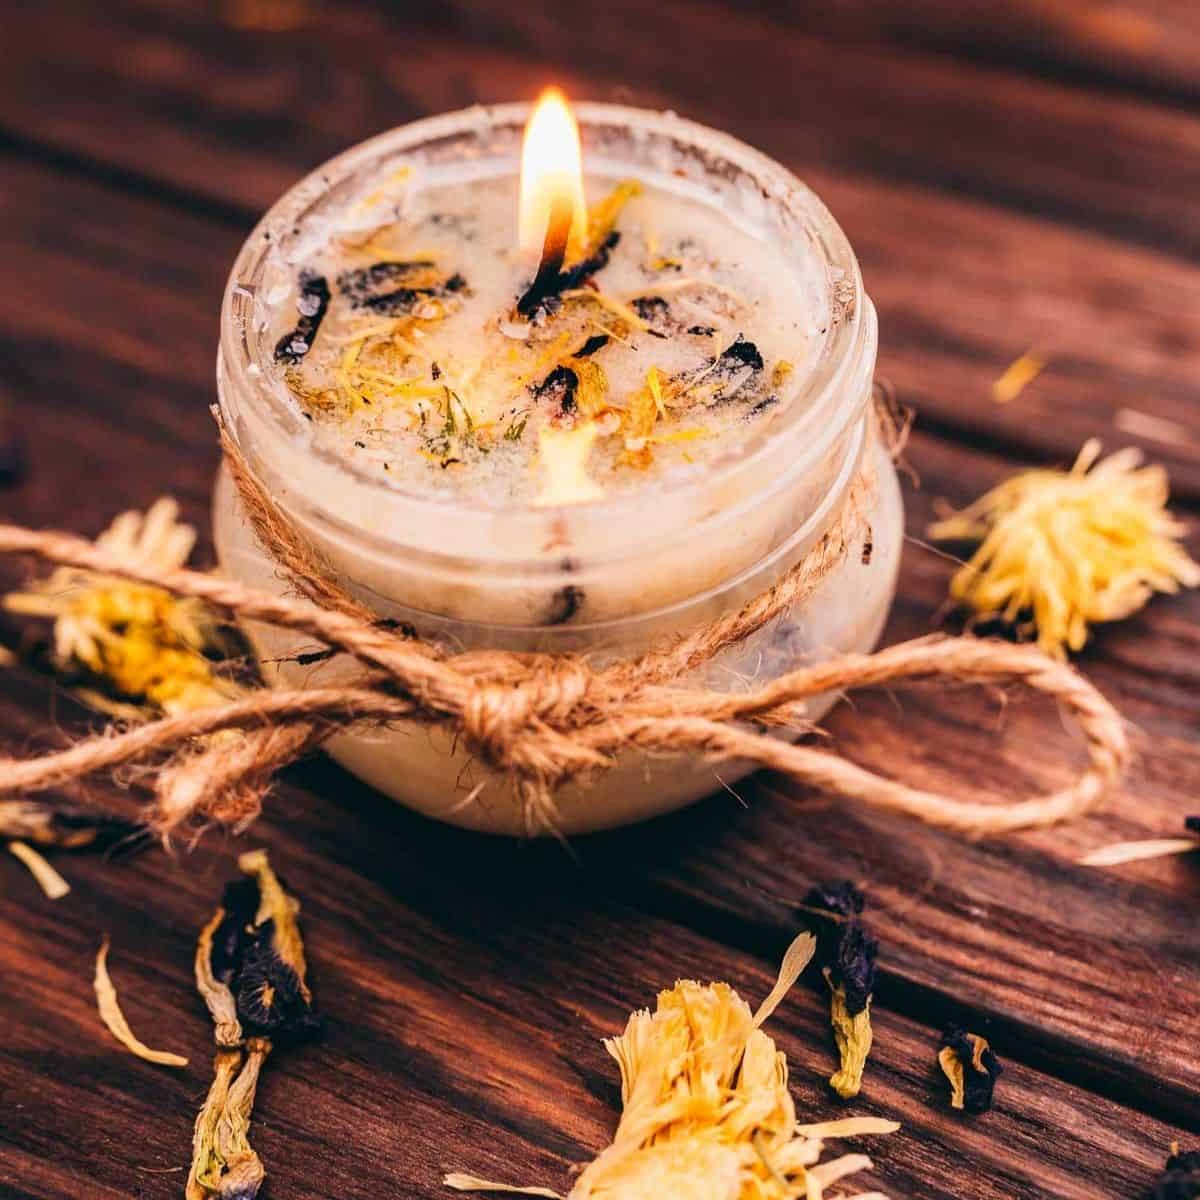
Candlemaking is so satisfying, especially when using flowers for a natural touch. These candles glow beautifully, with melted wax holding delicate petals along the side of the candle. They add charm to the home and make perfect home decor inspiration. I hope you enjoy!

Why You’ll Love This DIY Project
- You’ll create gorgeous, visually captivating candles.
- These DIY floral candles are eco-friendly as they don’t contain synthetic dyes or fragrances. Instead, they contain dried flowers and natural waxes.
- You can customize the project by using your favorite flowers or scents instead.
- These candles make excellent handmade gifts for your loved ones.

Materials Needed
Refined Coconut Oil: Helps soften the wax to make it burn more cleanly and evenly.
Dried Calendula Blossoms: Helps give your floral candles a natural botanical charm.
Dried Blue Butterfly Pea Flowers: Adds a beautiful aesthetic and subtle floral aroma to your candles.
Soy Wax Flakes: Serves as the foundation of these candles, providing structure while absorbing and releasing fragrance as the candle burns.
Blue Butterfly Pea Essential Oil: Provides a delicately earthy, mildly floral scent.
Calendula Essential Oil: Gives off a gentle, slightly sweet aroma that pairs well with blue butterfly peas.

How To Make DIY Flower Candles
- Combine dried calendula and blue butterfly pea flowers in a large jar.
- Cover with coconut oil, seal the lid, and let infuse in a dark spot for 1 to 6 weeks.
- Strain the flowers and transfer the infused oil to a double boiler over medium heat.
- Add soy wax flakes and stir until melted, about 5 minutes. Remove from heat, mix in essential oils, and prepare a wick in a heat-safe container.
- Pour the melted mixture into the container and sprinkle with crushed dried flowers.
- Let cure in a cool, dark place for at least 4 hours. Trim the wick to 1 inch before lighting. Enjoy!

Top Tips
- If desired, add thicker flower types like rose petals, peony, or hibiscus.
- You can use a cotton wick for this project.
- You can also use pencils or wooden skewers to keep the candle wick centered.
- Always use heat-resistant containers (Mason jars are good) that can withstand high temperatures so they won’t crack or shatter during candle-making.
- Conduct a test burn before gifting or using the candles to ensure they burn safely and consistently. Make adjustments if needed.

Storing DIY Flower Candles
Keep these floral candles in a cool, dark place, away from direct sunlight or other light sources, to prevent the flowers from fading and the wax from softening.
More Projects For You To Love
DIY Scented Beeswax Fire Starters

DIY Blue Butterfly Pea and Calendula Candles
Equipment
- Wicks
- Heat safe vessel(s)
Materials
- ⅓ cup refined coconut oil
- 1 tablespoon dried calendula blossoms plus extra for decoration and aroma
- 1 tablespoons dried blue butterfly pea flowers plus extra for decoration and aroma
- ½ cup soy wax flakes
- 10 drops blue butterfly pea essential oil
- 10 drops calendula essential oil
Instructions
- In a large jar, combine the dried calendula and blue butterfly pea flowers.
- Cover with coconut oil and secure the lid.
- Let the oil infuse at room temperature in a dark place for at least 1 week, and up to 6 weeks.
- Strain the flowers from the infused oil, then proceed with making the candles.
- In a double boiler over medium heat, add the infused oil and soy wax flakes.
- Stir until melted, about 5 minutes.
- Turn off the heat and add the essential oils.
- Place the wick in your heat-safe container, securing it with a wick holder or by threading it between chopsticks resting on top of the container.
- Pour the melted mixture into the container, then immediately sprinkle with crushed dried calendula and blue butterfly pea flowers.
- Allow it to cure in a cool, dark place for at least 4 hours.
- Once set, trim the wick to about 1 inch before lighting and enjoying.


Comments
No Comments