
Soothe your skin and calm your senses with this DIY beeswax lotion! Made with only five, all-natural ingredients, this creamy homemade lotion recipe nourishes your skin and your senses with the calming aroma of vanilla and nutmeg.

Not only does this beeswax lotion come together quickly, but it’s also the perfect way to hydrate your skin. We love this recipe and use it regularly!
Beeswax is commonly used in DIY skincare products because it helps hold lotions and balms together and makes them pliable.
However, it’s also great for:
- Softening the skin
- Acting as a barrier to the elements
- Holding on to moisture to prevent the signs of aging.
In this nutmeg vanilla lotion recipe, the beeswax gives it a creamy, soothing texture with a non-greasy feel. In my opinion, it's much better than regular lotion!
Use this homemade lotion daily and reap the benefits of soft, silky skin.

Why You’ll Love This Beeswax Lotion Recipe
With its rich texture, you’re going to fall in love with this lotion recipe because it’s:
- Easy to make: you only need five ingredients for the lotion and minimal equipment to make it.
- Calming: the majority of people find the combination of vanilla and nutmeg comforting and grounding.
- Non-greasy: a common problem with DIY lotion is the greasy texture before it absorbs into your skin. This version is creamy instead of greasy.
- The perfect gift: though you can make it for yourself, it’s also lovely dressed up as a homemade gift.
- Healing: the lotion is packed with ingredients that help soothe, nourish, and repair your skin.

Ingredient Notes
Carrier oil: Most carrier oils are interchangeable. The most common carrier oils are almond oil, apricot kernel oil, and jojoba oil. Each is nourishing and soft. All three work in this recipe.
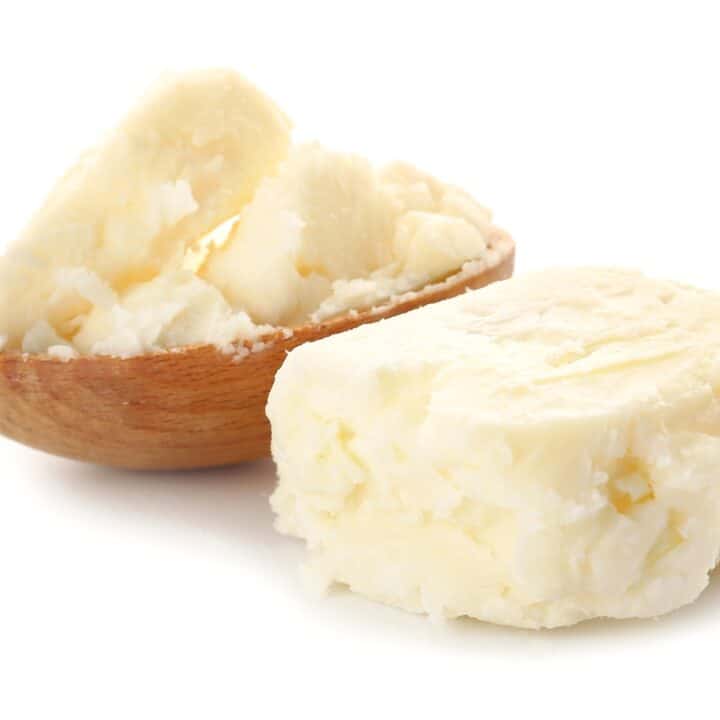
White beeswax pellets: Make sure to use either grated beeswax or pellets. Since beeswax is naturally very hard, trying to cut it off blocks or from chunks is an extra hassle you don’t want.
Coconut oil: Both refined and unrefined coconut oil will work. Since coconut oil changes textures at different temperatures, you can’t substitute it in this recipe. It’s what helps keep the lotion ultra-creamy.
Vanilla extract: The purer your vanilla extract, the more the scent will come out in the lotion.
Ground nutmeg: Freshly ground nutmeg will bring more aroma to the lotion, so if you can, grind it into a powder right before you need it. Otherwise, already ground nutmeg gets the job done!
How To Make Beeswax Lotion

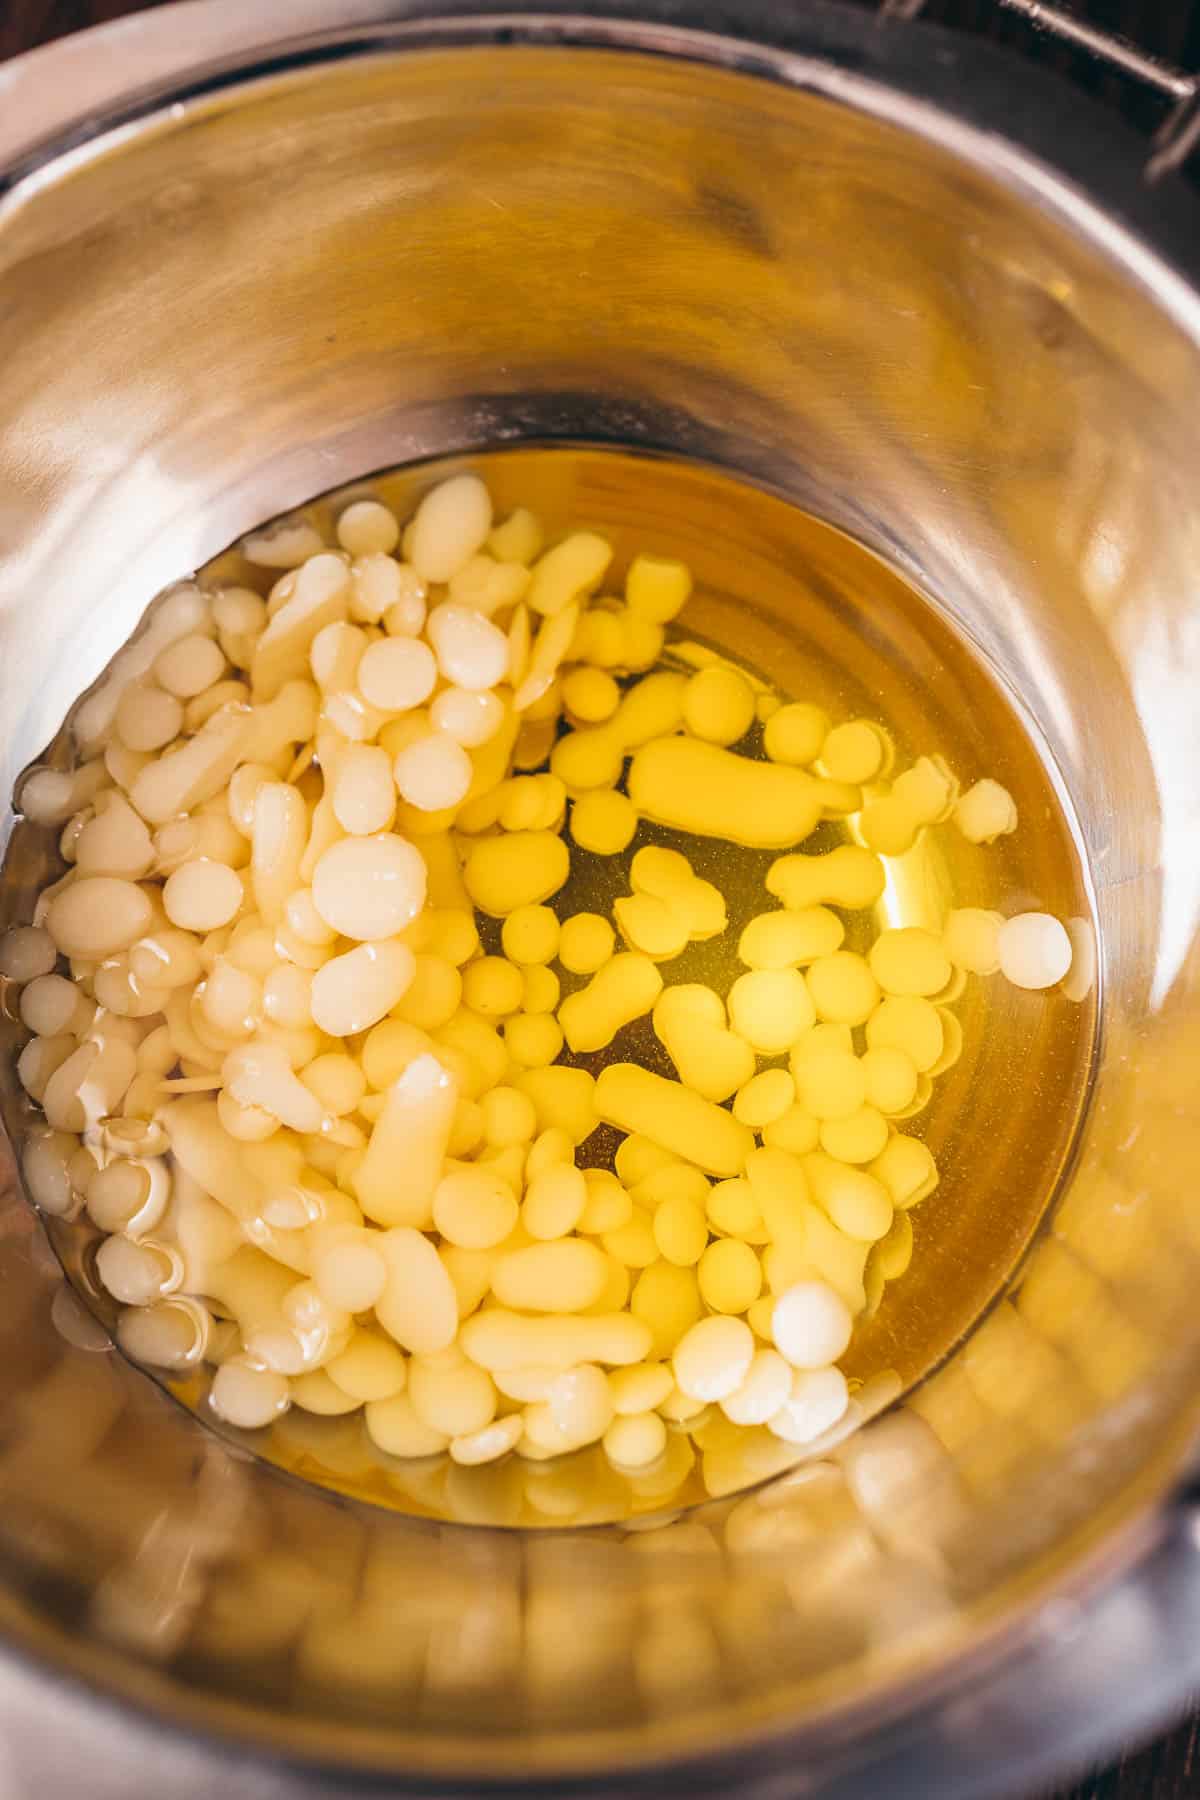


- In a double boiler over medium heat, add the carrier oil, beeswax, and coconut oil.
- Stir until melted, about 5 minutes.
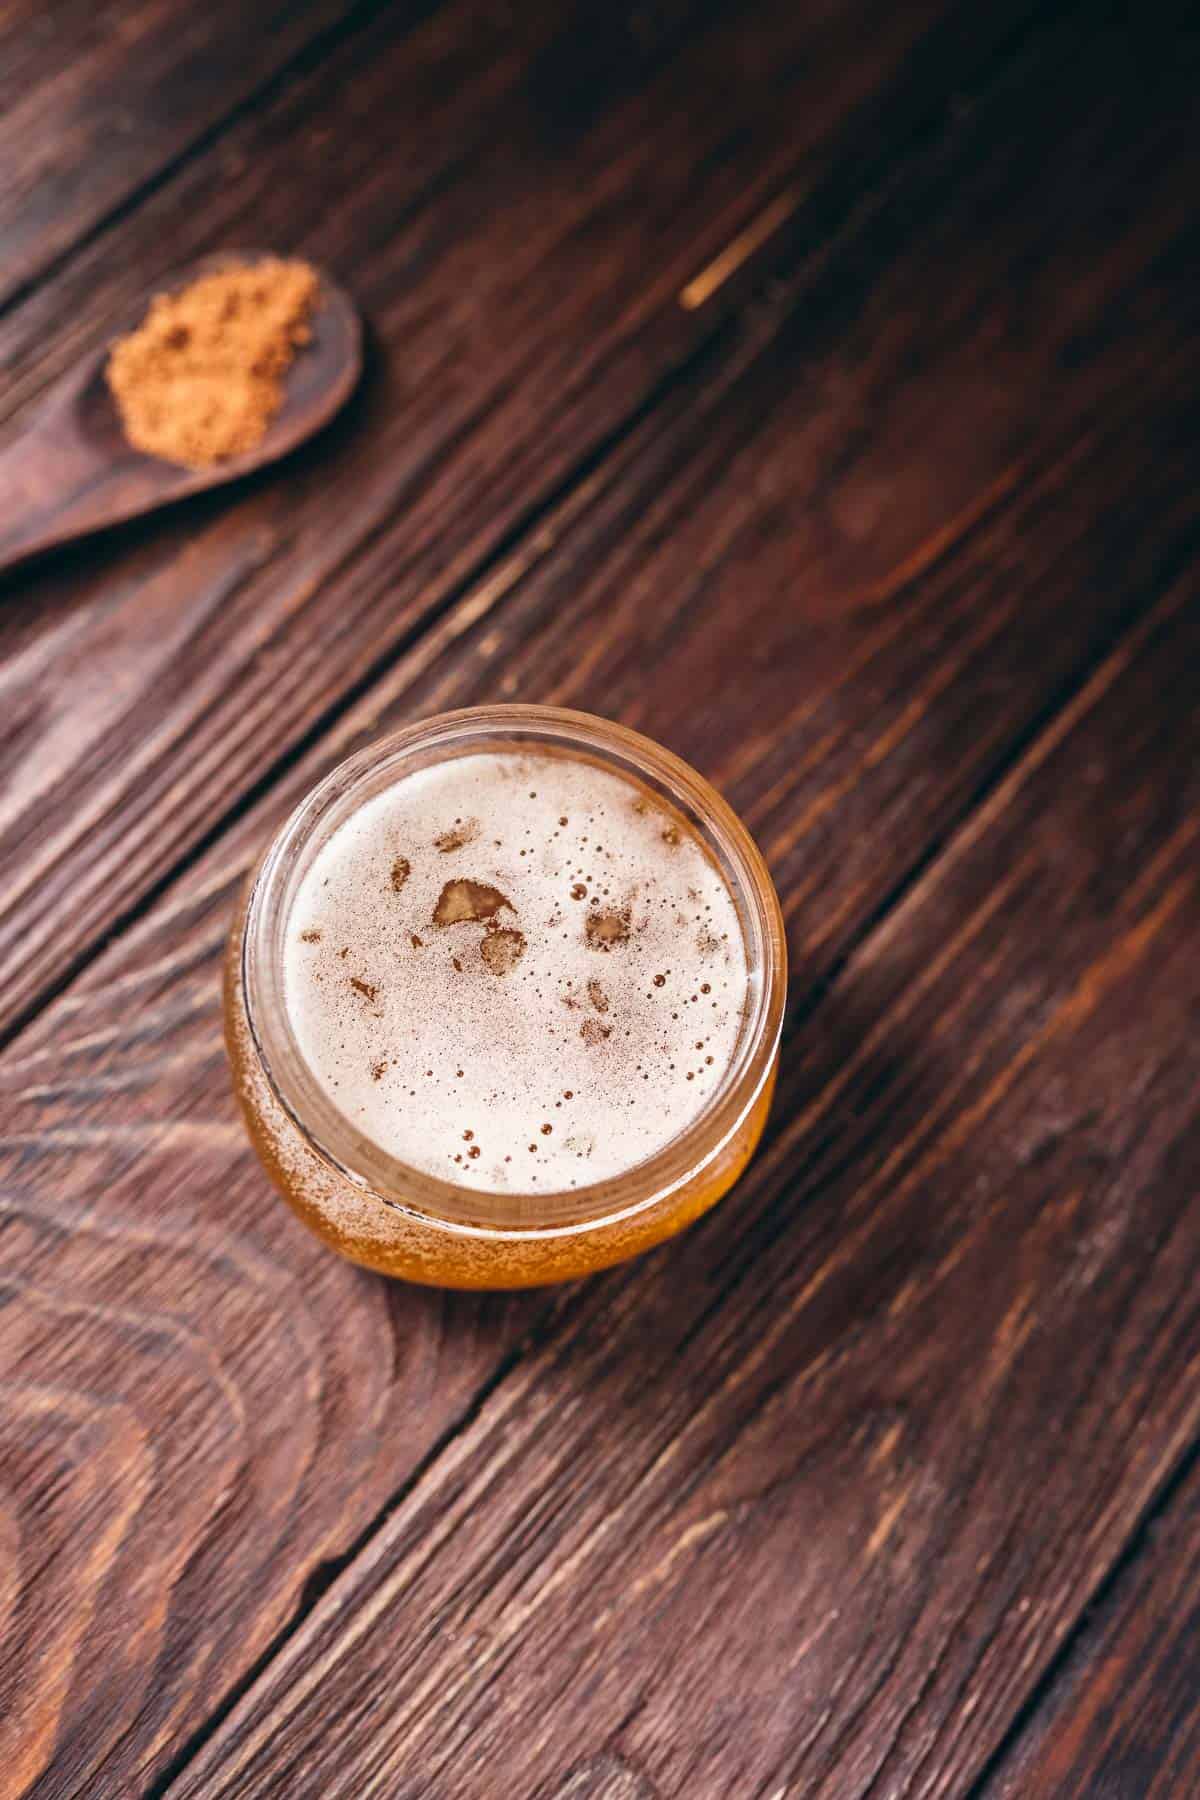
- Turn off the heat, then add the vanilla and nutmeg. Stir well.
- Carefully pour the liquid into the heat-safe container of your choice.
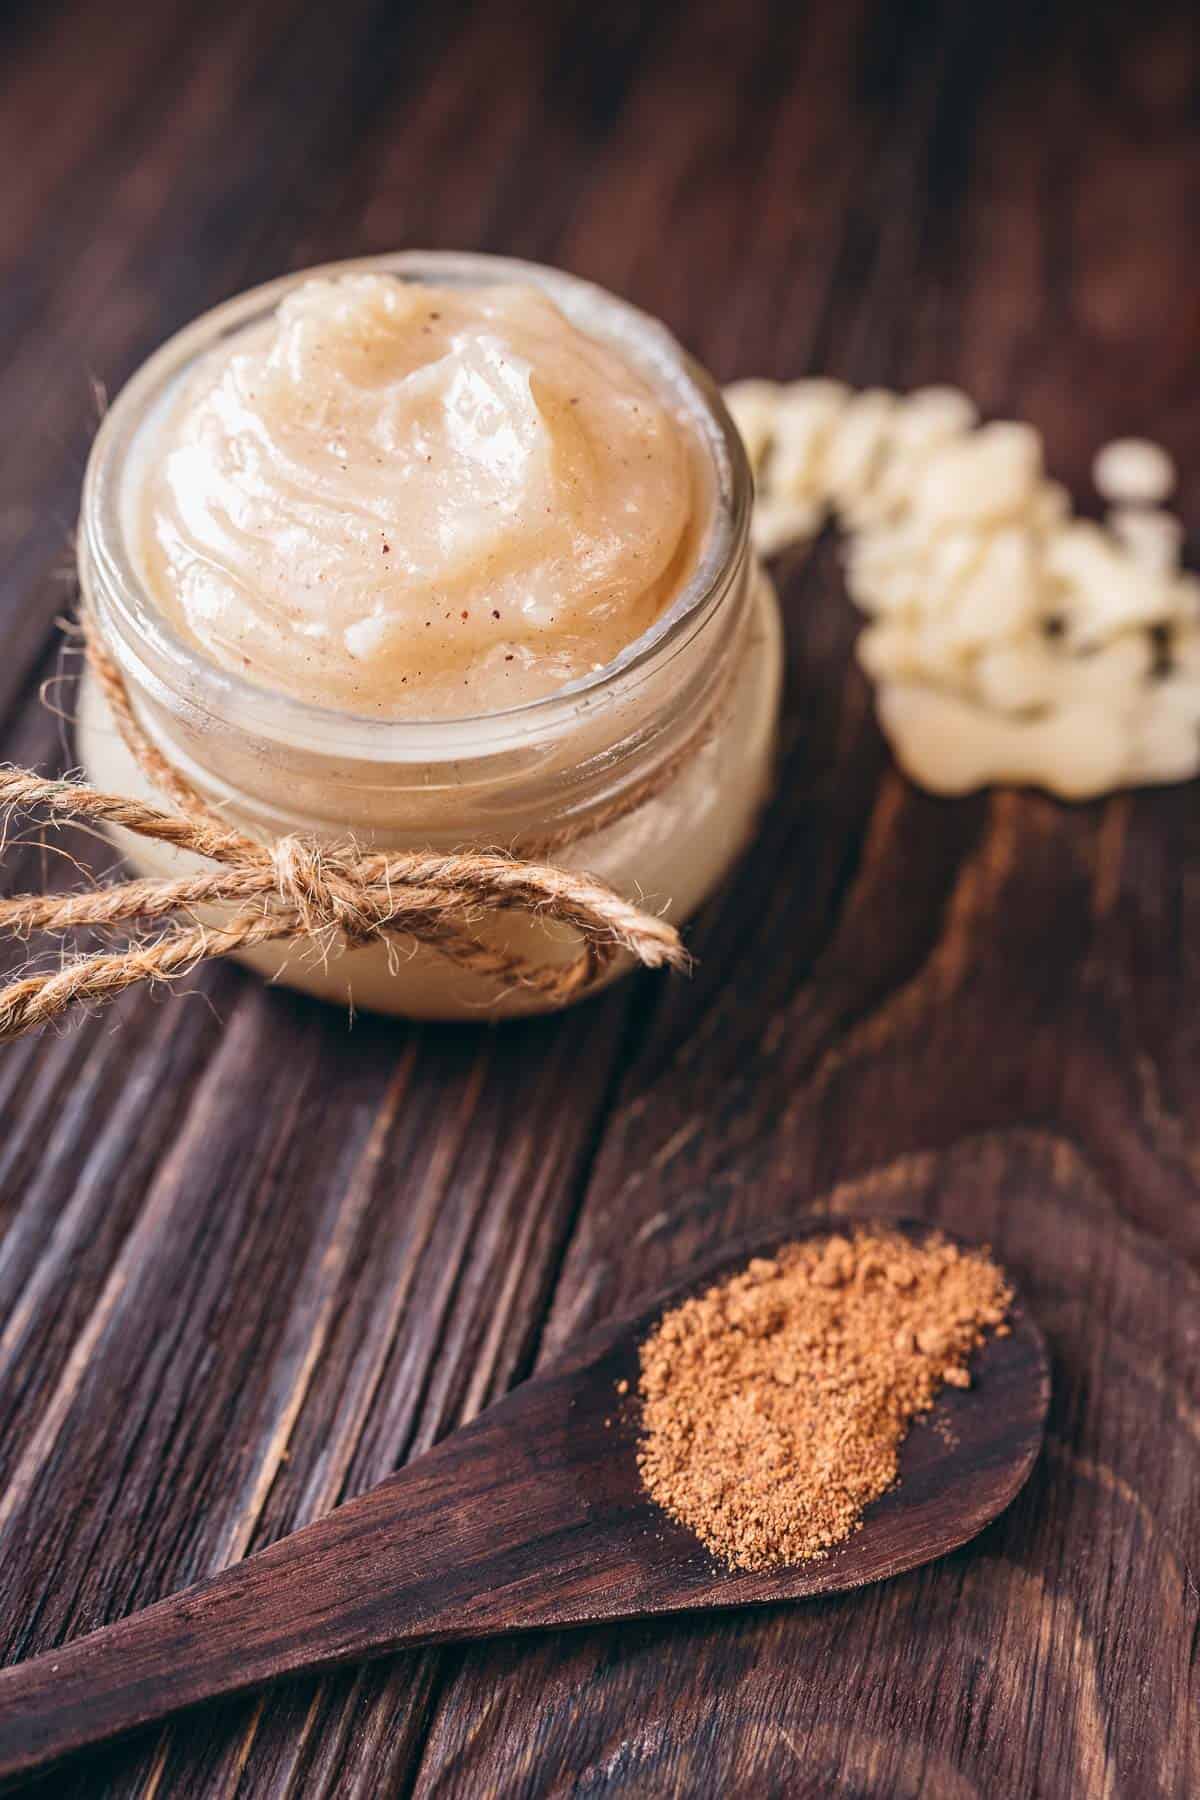
- As the lotion cools and solidifies, stir once in a while until the lotion is fully set, about one hour. This helps ensure a creamy texture.

Storing Beeswax Lotion
This beeswax lotion should be stored in an airtight container in a cool place.
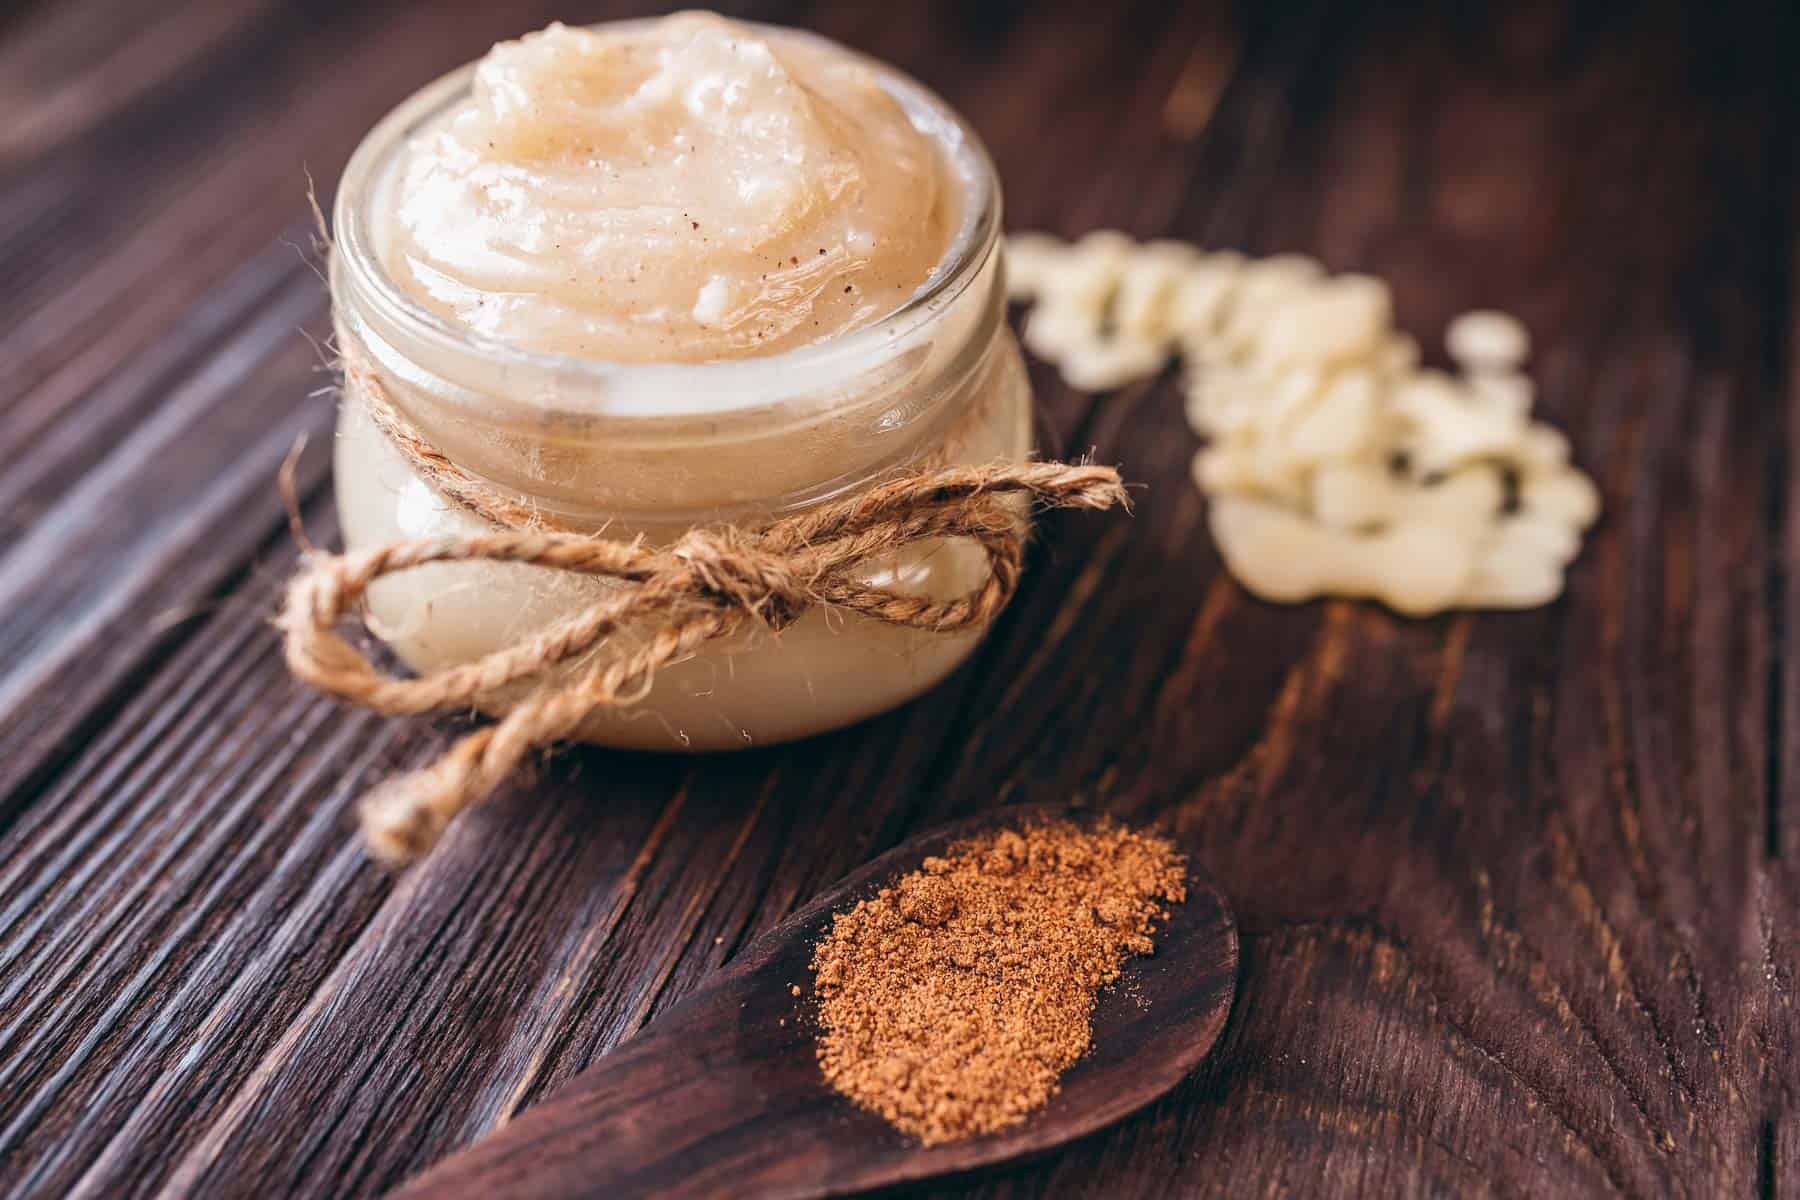
I like to use small glass jars for storage. They are easy to dress up for gift-giving purposes, too!
If stored like this, it will last up to one year.
When you use it, make sure that you dry your hands before taking some from the jar (or use a popsicle stick to apply). If water gets into the jar, the lotion won’t last as long.

Tips & Notes To Make It Perfectly
- Though you could use essential oil in this lotion recipe, it’s not necessary. The nutmeg (especially freshly ground) brings enough of an aroma.
- Make sure that the beeswax is fully melted before removing the double boiler from the heat. You can do this by whisking the mixture every so often so that no pellets get stuck together. Otherwise, the texture of the lotion will be off.
- Whether using a double boiler or just a mason jar in water, make sure not to get any water into the lotion mixture as it's melting. Water will cause it to go rancid far sooner than normal.
- You want to add the vanilla and nutmeg in last and after it’s done heating so that you don’t damage the scent. This way it holds the aroma better.
- So that your lotion sets evenly, make sure to give it a stir or two while it is setting.
Using DIY Lotion
- This homemade beeswax lotion can be used daily. It is best absorbed just after wet skin is dried and should be massaged in (this way you really get to reap the benefits of the delicious scent, too!).
- Depending on your skin type, it’s best used as a body lotion and not a face lotion. However, you can do a test patch for it and see how it goes.
- Because it is so rich in oils, it takes a moment to absorb into the skin. So, massage it on and let it sit for a minute or two before putting clothes on top.

Frequently Asked Questions
Depending on the texture you’re aiming for, you’ll want to use roughly 2/3 cup of oil (a blend of coconut oil + another carrier oil) to ¼ to ⅓ cup of beeswax pellets. The more beeswax you use, the firmer your homemade lotion will be (much more like body butter).
Any carrier oil can be mixed with beeswax, and each has its own special skincare benefits. The most commonly used carrier oils are sweet almond oil, jojoba oil, and apricot kernel oil. All of which are nourishing for your skin.
Both white and yellow beeswax will work in a lotion recipe. White beeswax is chosen more often than not for aesthetic purposes as it helps bring out the other colors of ingredients added to it.
You Might Also Like These DIY Recipes
Orange Clove Whipped Body Butter

DIY Beeswax Lotion
Equipment
Materials
- ½ cup carrier oil of choice I like to use jojoba oil
- ¼ cup yellow or white beeswax pellets or grated beeswax
- ¼ cup coconut oil refined or unrefined
- 1 ½ teaspoons vanilla extract
- ¼ teaspoon ground nutmeg
Instructions
- In a double boiler over medium heat, add the carrier oil, beeswax, and coconut oil.
- Stir until melted, about 5 minutes.
- Turn off the heat, then add the vanilla and nutmeg. Stir well.
- Carefully pour the liquid into the heat-safe container(s) of your choice.
- As the lotion cools and solidifies, stir once in a while until the lotion is fully set, about one hour. This helps ensure a creamy texture.
- Keep the lotion stored in an airtight container in a cool, dry place for up to one year.
Notes


Chandra says
This recipe looks fantastic! I would love to try this. It looks like an amazing gift to give!
Kristen says
Thanks so much! 🙂
Kristen says
Thanks so much! 🙂