
My DIY rice facial toner is perfect if you love simple, natural skincare. Made with white rice, this easy toner uses a familiar pantry ingredient to create a clean, refreshing formula you can use regularly to support hydration and help your skin look smooth, glowing, and glass skin–like.

I recently started making my own DIY toners, and this recipe is one of the best rice toners I’ve tried. It gives my skin a much-needed break from store-bought products and makeup. What I love most is knowing exactly what I’m putting on my face, without harsh alcohol or added fragrance.
Making this hydrating toner at home really highlights how effective simple methods can be and showcases the benefits of rice for skin. If you enjoy mindful self-care and have dry, oily, combination, or normal skin, this is an easy, approachable option. I especially like reaching for it when my skin feels dry or a little out of balance, and it’s been a great addition to my daily routine for a smoother, clearer-looking complexion.
Many store-bought toners rely on ingredients like niacinamide, panthenol, sodium hyaluronate, ceramide NP, witch hazel, essential oils, or adenosine to boost hydration and skin texture. This DIY rice toner takes a simpler approach, focusing on gentle, traditional methods instead of layering multiple actives.

Materials Needed
Filtered Water: Acts as the base of the toner that helps extract beneficial compounds from the ingredients and keeps the formula gentle.
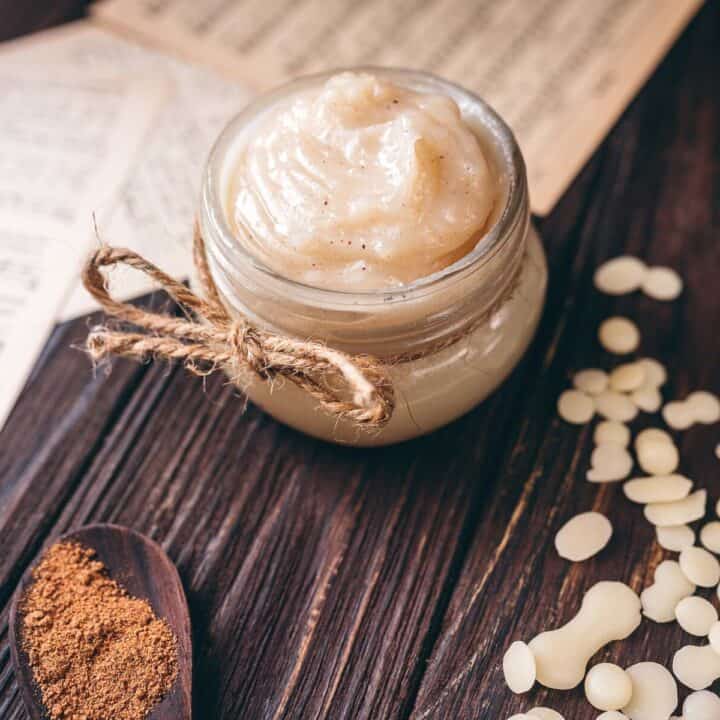
Uncooked White Rice: The key ingredient! It releases soothing starches into the water during soaking, giving the toner a soft, smoothing feel. Rice water has vitamins and properties that help brighten skin tone, minimize pores, and calm sensitive or irritated skin. Rice water naturally contains trace amino acids that help support skin comfort.
Dried Rose Petals: Rich in antioxidants such as flavonoids and vitamin C, they add more calming, skin-soothing benefits to the toner. These antioxidants help protect the skin from oxidative stress.
Dried Chamomile Flowers: Provide subtle herbal notes and a balancing feel to the toner while also helping address skin inflammation and calm redness. It's often associated with soothing compounds like allantoin.
Raw Honey: Acts as a natural humectant, drawing moisture to the skin without heaviness. This helps deliver extra moisture without feeling heavy.
Raw Apple Cider Vinegar: Helps support the ph balance of your skin. It also helps limit odor-causing bacteria on the skin’s surface and works as a mild natural astringent.

How To Make Facial Toner

1. ADD RICE AND FLOWERS
Add the rice to a clean jar and pour in the filtered water to cover. Gently swirl, then stir in the rose petals and chamomile.

2. MIX WITH HONEY AND APPLE CIDER VINEGAR
Mix in the honey until fully dissolved, then pour in the apple cider vinegar and stir to combine.

3. COVER JAR
Top the jar with a breathable cloth or coffee filter and secure it in place with a rubber band.

4. REST, STRAIN, USE
Let sit at room temperature for 24 to 48 hours, stirring once a day, until it develops a light tangy aroma. Strain out the solids, then transfer the liquid to a sterilized bottle. Apply to clean skin using a cotton pad, or as a spray.
Kristen’s Top Tips
- Rinse the uncooked rice before soaking to remove any surface debris.
- Before first use of homemade toners, always conduct a patch test, especially if you have sensitive or acne-prone skin, to check your skin’s response and avoid disrupting your skin’s pH. Don’t use if any irritation or skin reaction occurs.
- For best results, use this toner after washing your face with a cleanser, then apply serum or a moisturizer in thin layers. You can lightly spritz the toner onto your face or apply it with a cotton pad.
- Apply lightly around the T-zone if your skin tends to feel oilier there.
- If you want to try a bit more variety in this DIY recipe, try:
- An increasing amount of rose petals for a more aromatic toner.
- Adding more raw honey.
- Reduce the amount of apple cider vinegar if you have sensitive skin.
- Swap part of the water with rose water for a softer, floral-toned toner.

Storing Homemade Face Toner
Place the toner in a sterilized glass bottle or spray bottle and store it in the refrigerator for up to 1 week. This short storage time helps avoid unintended fermentation. Discard if it develops any off smell, change in color, or texture.

You Might Also Like These DIY Projects


Homemade Facial Toner with Rice Water and Apple Cider Vinegar
Materials
- 1 cup filtered water
- 2 tablespoons uncooked white rice rinsed
- 1 teaspoon dried rose petals
- 1 teaspoon dried chamomile flowers
- 1 tablespoon raw honey
- 1 tablespoon raw apple cider vinegar
Instructions
- Place the rice in a clean jar and cover with the filtered water. Swirl, then add the rose petals and chamomile.

- Stir in honey until dissolved. Add the apple cider vinegar.

- Cover the jar with a breathable cloth or coffee filter secured with a rubber band.

- Leave at room temperature for 24–48 hours, stirring once daily, until you notice a lightly tangy scent.
- Strain out solids and pour the liquid into a sterilized bottle.
- Store in the refrigerator for up to 1 week. Apply to clean skin with a cotton pad, or use a spray bottle to apply as a spray. Enjoy!


Comments
No Comments