Drying herbs is an easy way to extend the life and use of fresh herbs. Let's learn how to dry herbs with a few different methods, plus many tips and tricks.

Drying herbs is a simple and cost-effective way to preserve the flavor, aroma, and medicinal benefits of fresh herbs. Not only does it extend the shelf life of herbs, but it also allows you to enjoy them throughout the year, even when they are out of season. Whether you have your own herb garden or buy them from the grocery store, drying them is a great way to make the most out of your harvest. In this article, we'll guide you through the process of drying herbs step-by-step and provide you with tips and tricks to help you get the best results. So, if you're interested in learning how to dry herbs, read on!
Jump to:
Choosing the Best Herbs to Dry
Not all herbs are suitable for drying, and some herbs dry better than others. Here are some of the best types of herbs to dry for both medicinal and culinary use:
Basil
Basil is an easy herb to dry and is perfect for adding to soups, stews, pesto, and sauces. You can dry basil leaves or the whole stem.
Rosemary
Rosemary is a versatile herb that adds flavor to roasted vegetables, and bread and is invigorating when added to homemade bath products. It is super easy to dry and retains its flavor, aroma, and medicinal properties well.
Thyme
Thyme is a popular herb in Mediterranean cuisine and adds flavor to roasted protein, vegetables, and sauces. Thyme leaves dry well and maintains their scent.
Oregano
Oregano is a robust herb that is a staple in Italian and Mediterranean cuisine. It is another herb that is easy to dry and it retains its flavor well.
Sage
Culinary sage has a rather strong flavor and aroma and is commonly used in stuffing, sauces, and roasts. It's very easy to dry and maintains its flavor well.
Mint
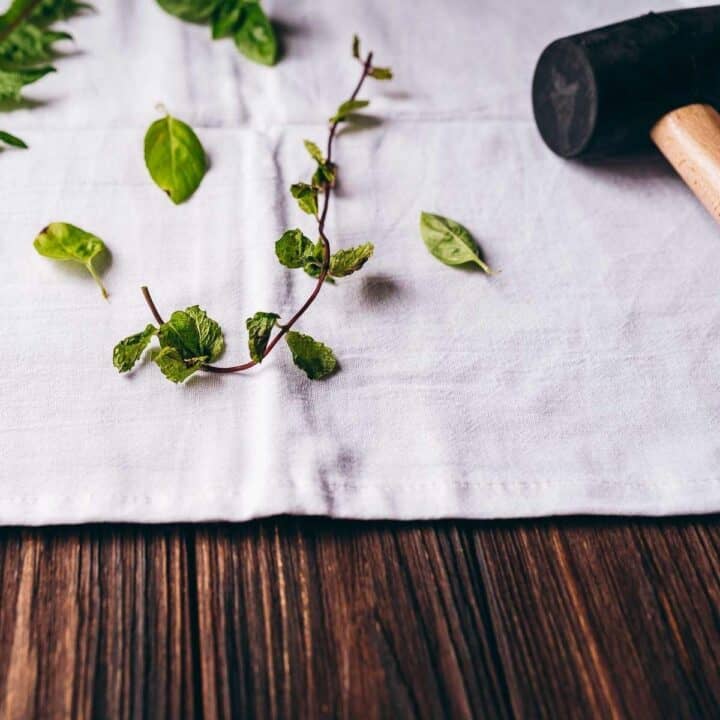
Mint is a refreshing herb that can be used in both sweet and savory dishes. All varieties of mint are super easy to dry and it maintains their wonderful aroma rather well.
Lavender
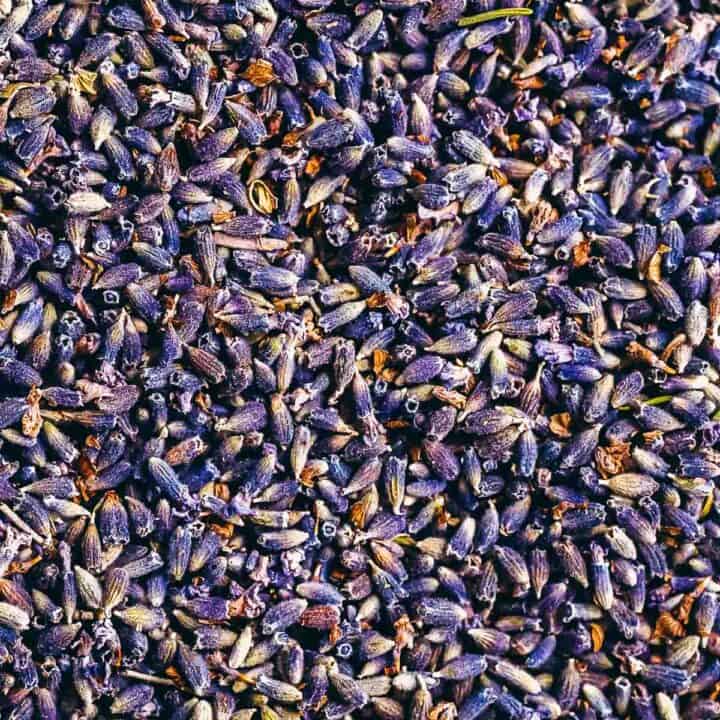
Lavender is a fragrant herb that is often used in soaps, candles, sachets, and both sweet and savory dishes. It is easy to dry, and dried lavender can be used to make tea or to flavor desserts and baked goods, as well as incorporated into skincare products like lavender hydrosol or facial cleansing grains.
Chamomile
Chamomile is a soothing herb that is often used to make a relaxing nighttime tea. It is easy to dry and retains its medicinal properties when dried.
Lemon Balm
Lemon balm is a citrus-scented herb that is often used to make a relaxing tea or to flavor desserts and baked goods. It dries easily and retains its flavor, medicinal properties, and aroma well.
Calendula
Calendula is a medicinal herb that is often used to treat skin conditions due to its soothing and healing properties. It is easy to dry and can be used to make skin-soothing oil, tea, salves, ointments, and even lip balm.
Echinacea
Echinacea is a medicinal herb that is often used to boost the immune system and to treat colds and flu. It is easy to dry and can be used to make tea or tinctures.
St. John's Wort
St. John's Wort is a medicinal herb that is often used to treat depression and anxiety. It is rather easy to dry and can be used to make medicinal tinctures and even a beautiful natural dye.
This is just a small selection of herbs to get you started! Most culinary and medicinal herbs can be dried with the below methods. So, have fun experimenting with the herbs and methods that work best for your needs.

Tools You Need to Dry Herbs
Drying herbs requires only a few simple tools, most of which you probably already have at home.
- Harvesting Shears: A pair of clean, sharp shears are essential for harvesting herbs. You want to avoid damaging the plant when you cut it, so make sure your shears are clean and sharp.
- Twine, Rubber Bands, or Twist Ties: You will need twine, rubber bands, or twist ties to tie the herbs together for drying.
- Paper Bags: Brown paper bags are useful for drying herbs in small quantities. They allow air to circulate around the herbs while protecting them from dust and debris.
- Drying Rack or Screen: A drying rack or screen allows air to circulate around the herbs, speeding up the drying process. You can purchase a drying rack or make one yourself using a mesh screen and a wooden frame.
- A Dark, Dry Place: Herbs need to be dried in a dark, dry place to retain their flavor and aroma. A small space like a pantry or closet is ideal.
Methods of Drying Herbs
There are several methods of drying herbs, including air-drying, oven-drying, dehydrating, and even air-frying. Each method has its advantages and disadvantages, and you can choose the method that works best for you based on the herbs you are drying and the tools you have available.
Air-Drying
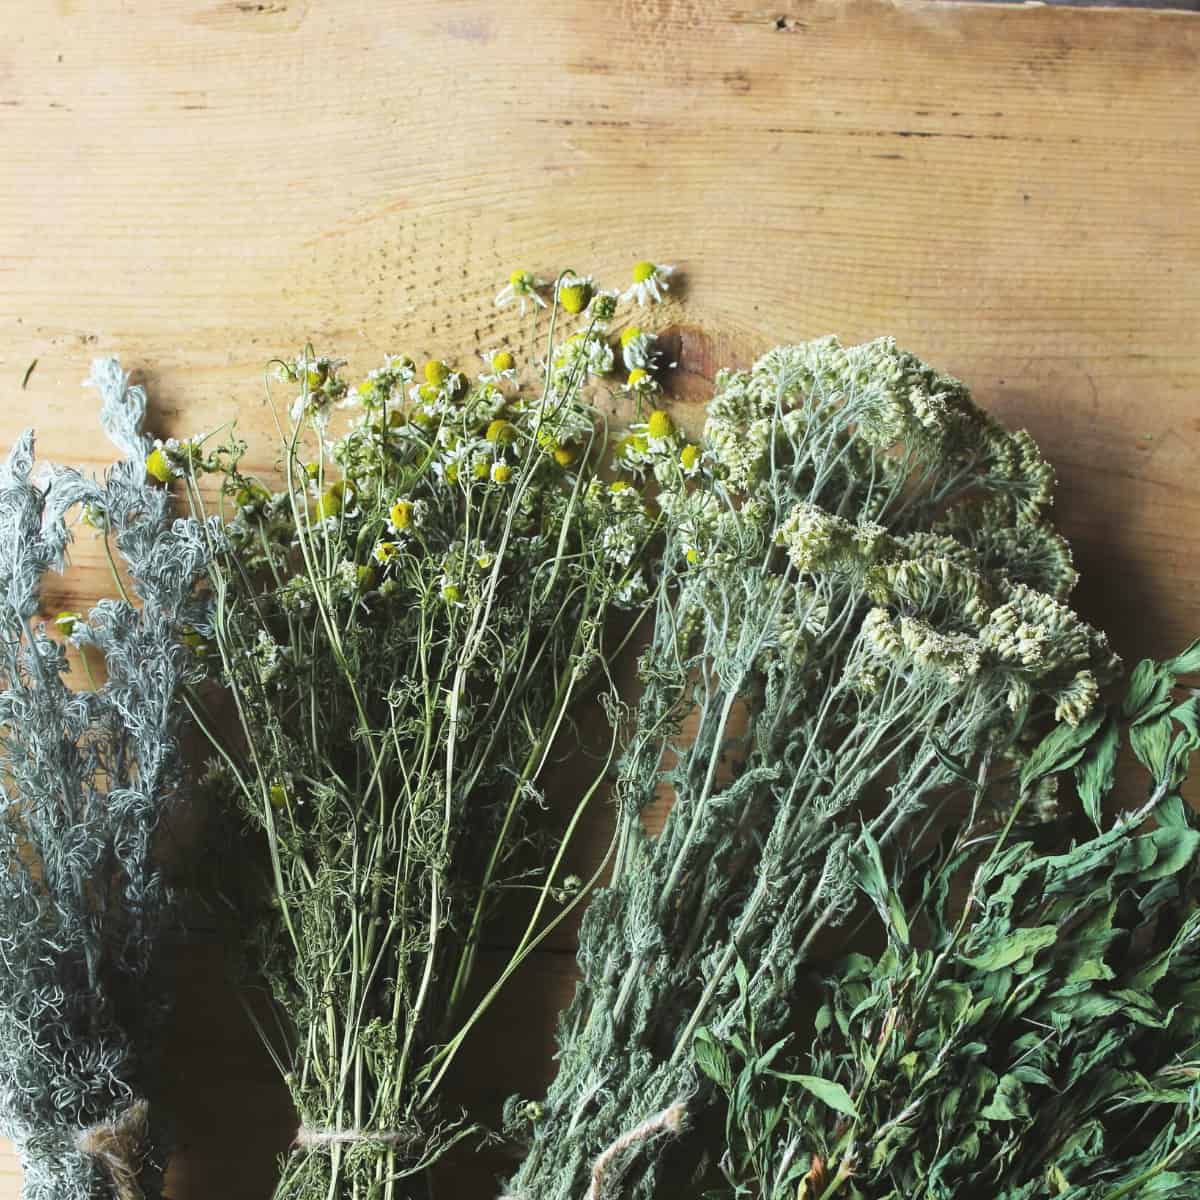
Air-drying herbs is the traditional method of drying herbs, and it is the easiest and least expensive method. Air drying works best for herbs with low moisture content, such as rosemary, thyme, and oregano.
Here’s how to air-dry herbs:
- Harvest the herbs in the morning after the dew has evaporated but before the sun is too hot.
- Remove any damaged or discolored leaves.
- Gently shake or brush any debris off of the herbs, or alternatively rinse the herbs with cold water and thoroughly pat dry.
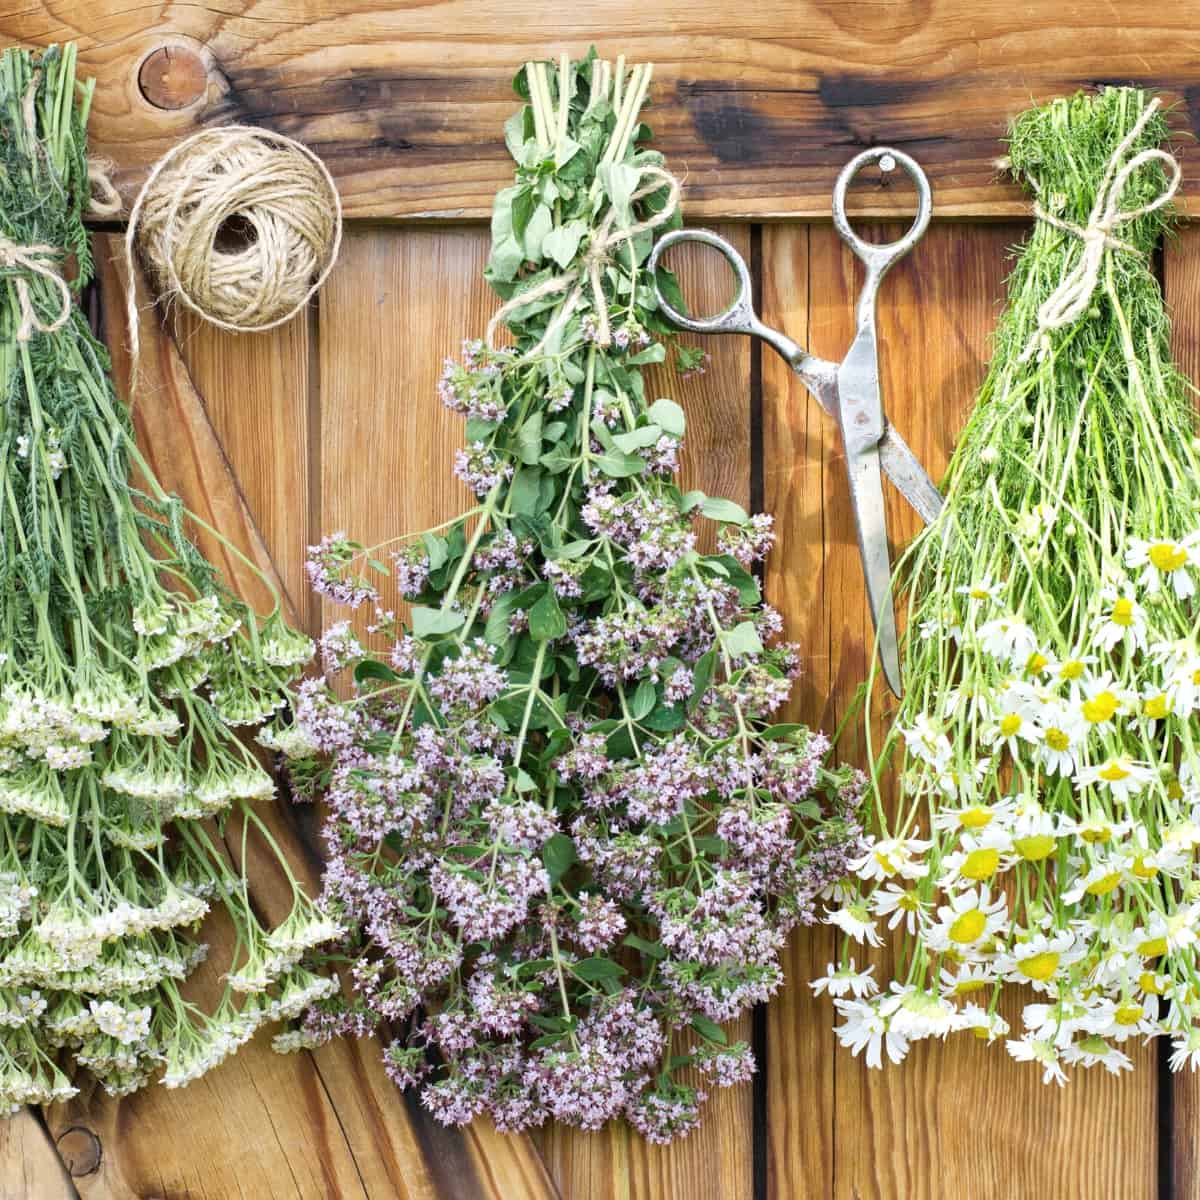
- Bundle the herbs together in small bunches and tie them with twine or a rubber band.
- Hang the herb bundles upside down in a dark, dry place with food air circulation. Make sure there is adequate space between the bunches so that air can circulate freely.
- Check the herbs every few days to see if they are dry. Depending on the humidity in your area, it can take anywhere from a few days to a few weeks for the herbs to dry completely.
- Once the herbs are dry, remove the leaves from the stems and store them in an airtight container in a cool dry place away from direct sunlight.

Oven-Drying
Oven drying is a quick method of drying herbs, but it can be tricky to get the temperature and timing just right. Oven drying works best for herbs with high moisture content, such as basil, calendula, and mint.
Here’s how to oven-dry herbs:
- Preheat your oven to the lowest temperature possible (usually around 140°F).
- Rinse the herbs gently in cold water and pat them dry with a clean towel, or opt to simply brush and shake the herbs prior to drying.
- Spread the herbs in a single layer on a baking sheet lined with parchment paper.
- Place the baking sheet in the oven and leave the door slightly ajar to allow moisture to escape and to allow good air circulation.
- Check the herbs every 15 minutes to see if they are dry. Depending on the herb and the moisture content, it can take anywhere from 30 minutes to 2 hours for the herbs to dry completely.
- Once the herbs are dry, remove the dry leaves from the stems and store them in an airtight container like a glass jar, in a cool, dark place.
Dehydrating
Dehydrating is a method of drying herbs that uses a food dehydrator, which is a machine specifically designed for the purpose. Dehydrators are convenient and efficient, but they can be expensive.
Here’s how to dehydrate herbs:
- Gently brush and shake the herbs to remove any debris, or rinse with cool water and pat dry.
- Remove the leaves from the stems and place the herbs in a single layer on the dehydrator trays.
- Set the dehydrator to the recommended temperature and drying time for the specific herb you are drying. This is usually the lowest heat setting. Many dehydrators come with guides for dehydrating herbs or even have a programmed button specifically for drying herbs.
- Check the herbs periodically to see if they are dry. Depending on the herb and the moisture content, it can take anywhere from a few hours to a day or more for the herbs to dry completely.
- Once the herbs are dry, remove them from the dehydrator and store them in an airtight container in a cool, dark place.
Air-Frying
Drying herbs in an air fryer is a nice, quick, and easy method for dehydrating and preserving herbs. Head on over to my guide to drying herbs in an air fryer to learn more. This is a good idea and one of the best ways to dry herbs when short on time.

Top Tips for Drying Herbs
Here are some additional tips to help you get the best results when drying herbs:
- Harvest the herbs in the morning when the oils are at their strongest.
- Use only fresh, healthy herbs for drying.
- Prepare the herbs by gently brushing and shaking the herbs to remove any unwanted debris. Or, you can rinse the herbs with cold water and pat them dry with a paper towel or clean dish towel, but if choosing this option, be certain to dry the herbs thoroughly for the best results and to prevent any mold formation. A salad spinner also works great for this purpose with sturdier herbs.
- Remove any damaged or discolored individual leaves.
- Choose a dark, dry place for drying herbs to prevent exposure to sunlight and moisture.
- Check the herbs frequently during the drying process to ensure that they are not getting moldy or spoiled.
- Once the home-dried herbs are completely dry, store them in an airtight container in a cool, dark place. I like to use glass containers like glass jars with wooden lids for storage. If drying herbs for culinary use, you can crumble them and store them in spice jars on your spice rack so they're ready to go for the next recipe you try!
Conclusion
Drying herbs is a simple and cost-effective way to preserve the flavor, aroma, and medicinal properties of your favorite herbs and spices. With a few basic tools and some simple techniques, you can dry herbs at home and enjoy their flavors and health benefits all year round (even in the winter months!).
Whether you choose to air-dry, oven-dry, air-fry, or dehydrate your herbs, make sure to follow the steps carefully and choose the best herbs for drying. With a little practice, you'll be able to dry herbs like a pro and add delicious flavor, benefits, and aroma to your favorite dishes, bath and body care products, homemade tea blends, herbal remedies, and more.


Comments
No Comments